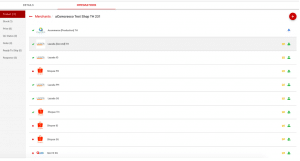
Customers - Merchants
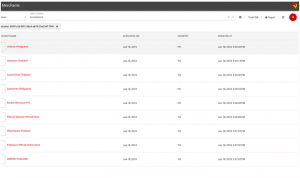
From the merchant page, users are able to see the full list of customers that are connected to CrescoData.
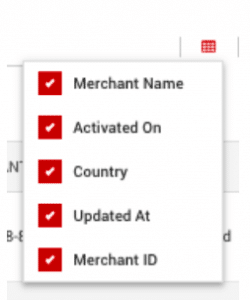
Users can toggle over the attribute icon to select the attribute(s) that they want to display:
Available attributes:
- Merchant Name: Registered merchant name
- Activated On: Merchant first activation date
- Country: Countries that merchant is connected to
- Updated At: Last update made for merchant
- Merchant ID: CrescoData’s unique identification
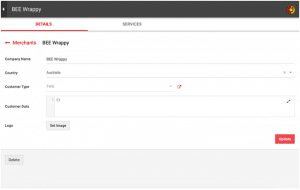
To see which publishing destinations(s) a merchant is connected to, click on the merchant name. Users will be brought to this screen that shows merchant details and integrations.
Merchant Details
Users will be able to:
- See merchant details
- See additional customer data
- See merchant live date
- See merchant last update date
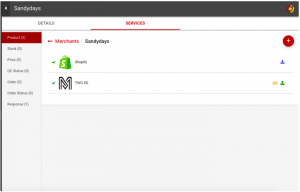
Merchant Services
Users will be able to:
- See the list of publishing destinations(s) that the merchant is connected to.
- See integration connection details
- See Sync Type
Add a Merchant
Users will be able to add merchants.
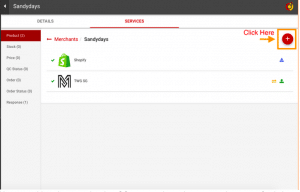
User can add products, stock, price, QC status, order, order status and response for their merchants. Just by clicking on the “Plus” sign
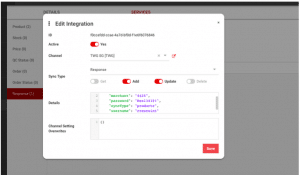
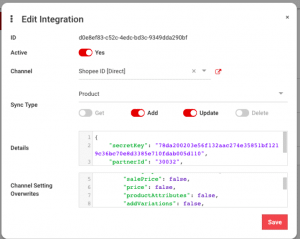
User can see a window to `Edit Integration`.
User need this information as
Active - Yes to activate
Integration - Is the source or the publishing destination where the customer wants to either get or add and update the information from.
Sync Type -
Get - to get either products/orders/responses from the source integration
Add - to add the information to the publishing destination
Update - to add updates make to the products or orders
Delete - to delete information from the Publishing Destination selected
In the image above, we are adding and updating information to the Publishing Destination .
Details - This is to initiate the integration between Publishing Destinations. The requirements for each Publishing Destination are very specific and user can get it from here(add the cresco requirements link)
Integration Setting Overwrites - User can add this if they don’t want to add or update a specific field. Eg. they don’t want to update the prices or some attributes
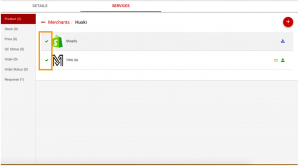
User saves the integration and you should see that the integration is active.
Icons
Under Merchants > Integration Tab, there are colored icons that represents different integration type. Hover over the icon to see the following indications for each color.
- Blue: Get
- Getting Orders/Product details from the Source Integration
- Green: Send
- Sending Orders/Product details from the Publishing Destination
- Yellow: Update
- Updating Orders/Products from/to the Publishing Destination
- Red: Delete
- Deleting the Publishing Destination

